How to Give a Yorkie a Kennel Cut
Giving your adorable Yorkshire Terrier a kennel cut at home can feel like a daunting task, especially if you’ve only ever managed a quick brush or a little trim around the eyes. Many Yorkie parents grapple with the thought of taking clippers to that beautiful, silky coat, fearing a botched job or, worse, accidental injury. But let me tell you, a well-executed kennel cut is a lifesaver for busy owners and active pups, offering a neat, low-maintenance style that keeps your Yorkie comfortable and clean. This guide is here to walk you through every step, ensuring you feel confident and prepared to give your furry friend a stylish, practical trim right in your own home.
Understanding the Yorkie Kennel Cut
The kennel cut is perhaps one of the most practical and popular haircuts for Yorkshire Terriers, especially for those whose owners aren't looking to maintain a long, flowing show coat. It's a fantastic option for keeping your Yorkie comfortable, clean, and looking tidy without the intensive daily grooming a longer coat demands.
What is a Kennel Cut?
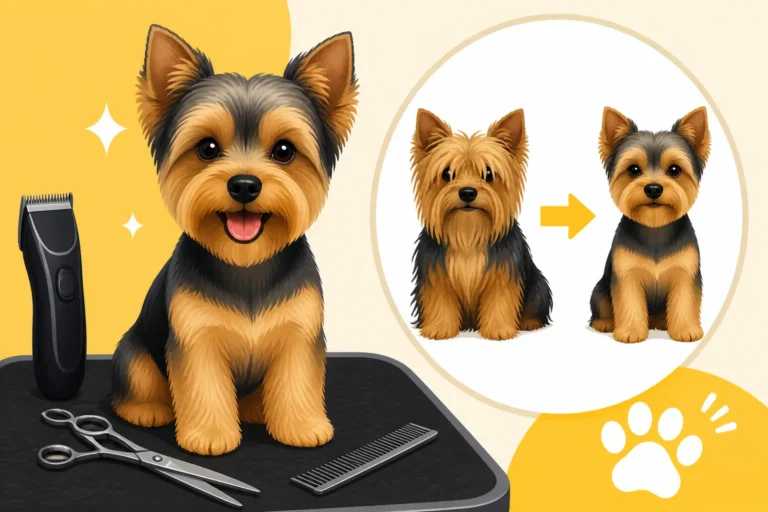
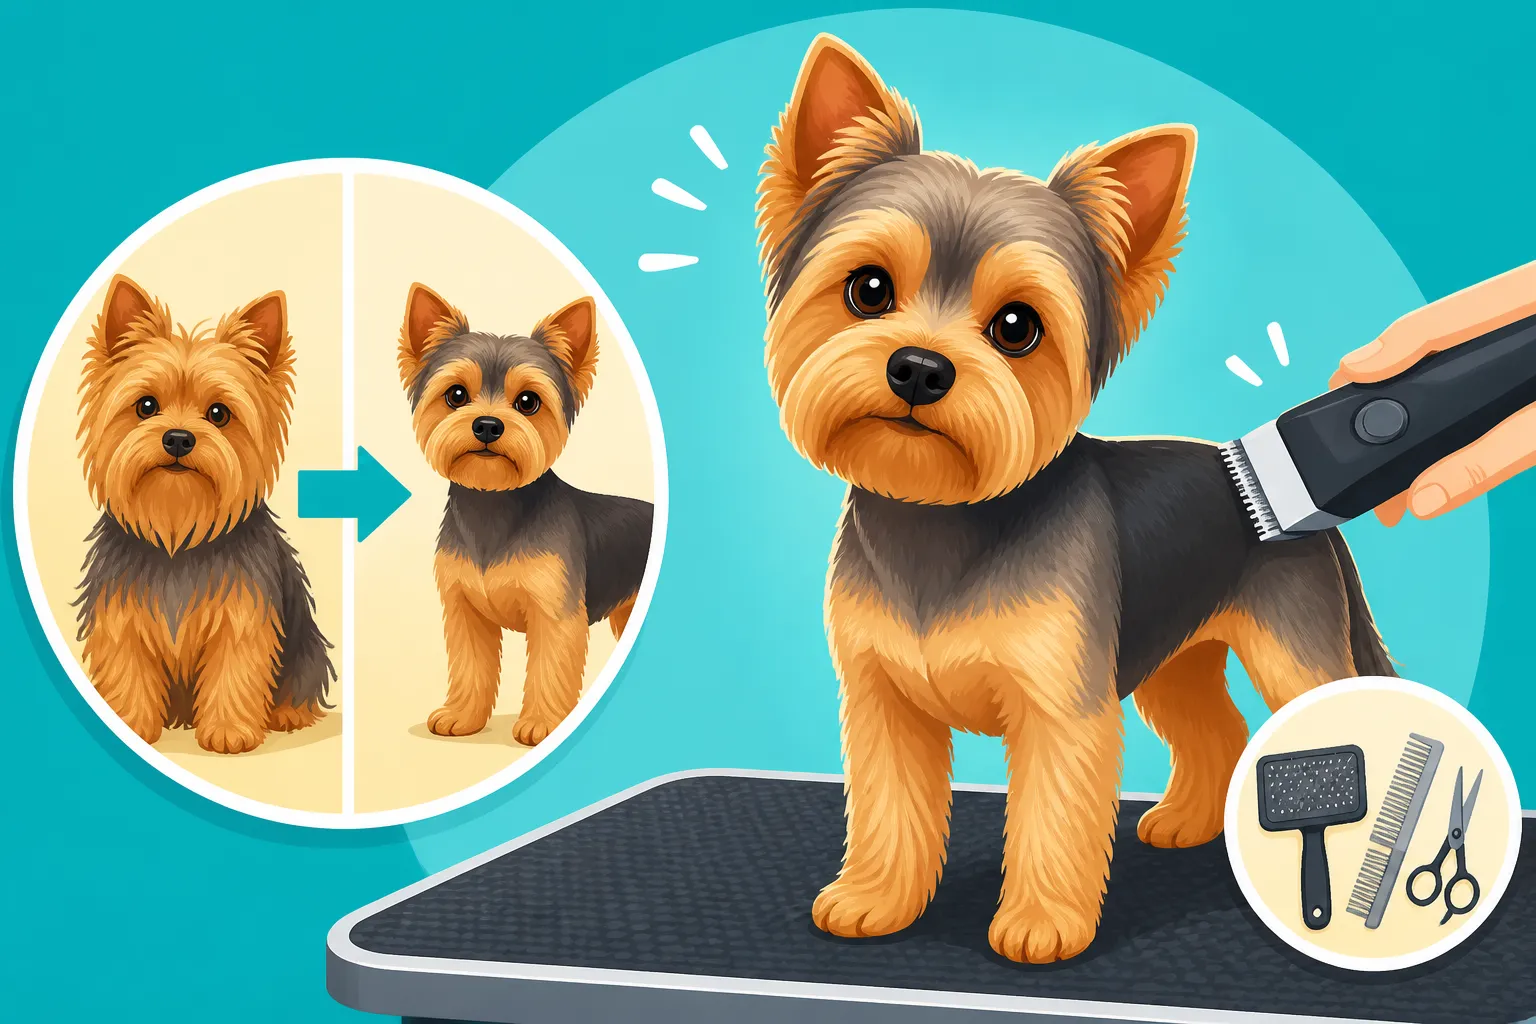
Imagine a haircut that’s evenly short all over your Yorkie's body, usually ranging from about a quarter to half an inch in length. That’s essentially the kennel cut. It's often achieved with electric clippers, using a consistent blade length across the back, sides, and belly. The head and face are typically left a little longer to preserve that classic Yorkie expression, though some owners opt for a shorter, tidier face as well. The goal is uniformity and practicality, not elaborate styling. It’s sometimes called a “puppy cut” or a “utility cut” because of its straightforward, easy-to-manage nature.
This style is a stark contrast to the traditional long, flowing coats seen on show Yorkies, which require daily brushing, conditioning, and intricate topknot arrangements to prevent mats and keep them looking pristine. With a kennel cut, you’re essentially opting for comfort and ease, allowing your Yorkie to live their best, most playful life without constant worry about their coat dragging on the ground or collecting debris. It’s a clean slate, making bath times quicker and keeping them cooler in warmer weather.
Benefits of a Kennel Cut for Yorkies
There are so many reasons why the kennel cut has become a go-to for many Yorkshire Terrier owners. First and foremost, it drastically reduces the risk of matting. Yorkies have a fine, silky coat that, when left long, can tangle and mat very easily, especially in high-friction areas like behind the ears, under the legs, and around the collar. Mats can be painful, pulling on the skin, and severe matting often requires a professional groomer to shave the dog down, which can be stressful. A kennel cut minimizes these issues significantly.
Beyond matting, think about cleanliness. A shorter coat means less hair to collect dirt, debris, leaves, or even urine and feces, especially for active dogs who love to explore the backyard. This translates to fewer baths and less time spent cleaning up your pup after their adventures. For Yorkies prone to tear stains, a shorter facial trim around the eyes can also help with hygiene, making it easier to clean the area and reduce staining.
Finally, for many Yorkies, especially those living in warmer climates or those who are particularly active, a kennel cut offers incredible comfort. It helps regulate their body temperature, preventing overheating during playtime or walks. It’s like giving them a fresh, cool outfit that’s perfect for any season, simplifying their Yorkshire Terrier Daily Care Routine. If you've been wrestling with a long coat, you'll find the practical benefits of this cut truly liberating.
Considerations Before You Start
Before you even think about picking up those clippers, there are a few important things to consider. First, your Yorkie's temperament plays a huge role. Are they generally calm and patient during grooming, or do they squirm and protest? If your dog is particularly anxious or reactive, home grooming with clippers might be too stressful for them, and a professional groomer who has experience with nervous dogs might be a better option. You want this to be a positive experience, not a traumatic one.
Next, assess their coat condition. While the kennel cut helps prevent future mats, you absolutely cannot clip through existing mats. Clippers will snag, pull, and potentially injure your dog. If your Yorkie has significant matting, you'll need to carefully brush them out (which can be time-consuming and painful) or take them to a professional for dematting or a complete shave-down before you can attempt this style. A clean, tangle-free coat is crucial for a smooth, even cut.
Lastly, consider their age and health. Older Yorkies or those with certain health issues might be more sensitive to handling or standing for extended periods. For example, if your Yorkie has Yorkshire Terrier Patellar Luxation: Signs and Care, prolonged standing might be uncomfortable. Always consult your vet if you have concerns about grooming your dog due to health reasons. Ensuring their comfort and safety should always be your top priority.
Essential Tools and Preparation for Grooming
Having the right tools is half the battle when it comes to home grooming. Trying to give your Yorkie a kennel cut with dull clippers or the wrong accessories is a recipe for frustration and a less-than-stellar result. Think of it like cooking – you wouldn't try to bake a cake without proper measuring cups, right?
Gathering Your Grooming Supplies
Let's talk about the essentials. First, and arguably most important, are your clippers. Invest in a good quality, quiet clipper designed for dogs. Brands like Andis and Wahl are highly recommended by professional groomers and dog owners alike. Look for clippers with a powerful motor that won't bog down in fine hair. You'll also need interchangeable blades. For a standard kennel cut, a #7F blade is a popular choice, leaving about 1/8 inch of hair, or a #10 blade will give you a slightly shorter 1/16 inch cut. Remember, the higher the number, the shorter the cut (with F meaning "finish," for a smooth cut). You can easily find these clippers and blades on sites like Amazon or specialized pet supply retailers like Chewy.
Next, you'll need a good pair of grooming scissors. Opt for blunt-nosed scissors, especially for trimming around delicate areas like the face and paws, to minimize the risk of accidental pokes. A metal comb with both wide and fine teeth is invaluable for checking for tangles and ensuring the coat is smooth before clipping. A pin brush and a slicker brush are also crucial for pre-grooming and daily maintenance. Don't forget dog-specific shampoo and conditioner – look for hypoallergenic options if your Yorkie has sensitive skin. Finally, have styptic powder on hand in case of any accidental nicks (it happens to the best of us!), and plenty of small, high-value treats to reward your brave little model throughout the process. Consider checking out a Best Grooming Kit for a Yorkshire Terrier for a comprehensive list.
Here’s a quick overview of common clipper blade sizes and their approximate cutting lengths:
| Blade Number | Hair Length Left (Approximate) | Common Use |
|---|---|---|
| #10 | 1/16 inch (1.5 mm) | Very short body, sanitary areas |
| #7F | 1/8 inch (3.2 mm) | Standard kennel cut length |
| #5F | 1/4 inch (6.3 mm) | Longer kennel cut, puppy cut |
| #4F | 3/8 inch (9.5 mm) | Longer body length |
| #3F | 1/2 inch (13 mm) | Longest clipping option for body |
Pre-Grooming Steps: Bathing and Drying
You absolutely, positively cannot skip the bath and thorough drying before clipping your Yorkie. Trying to clip a dirty or tangled coat is like trying to cut wet spaghetti with dull scissors – it won't work, it will pull, and it can ruin your clippers. A clean, completely dry, and tangle-free coat is the foundation for a smooth, even kennel cut.
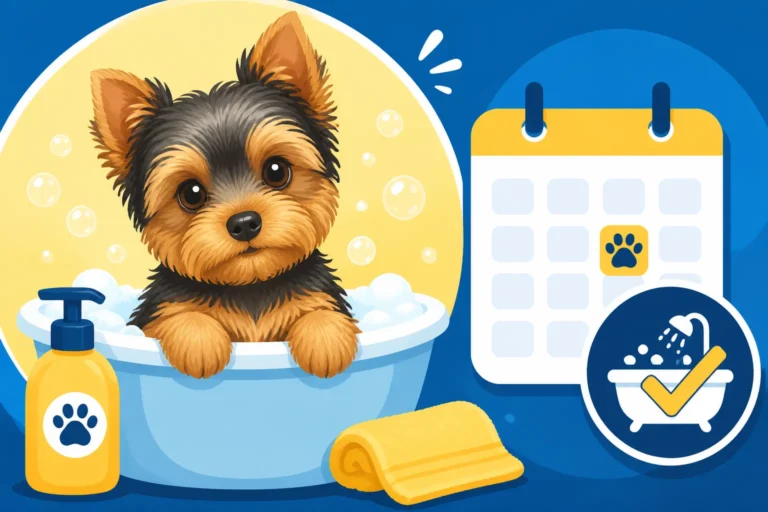
Start with a bath. Use a good quality dog shampoo that’s gentle on their skin and coat. Lather up well, making sure to get down to the skin, and rinse thoroughly to remove all traces of shampoo. Follow up with a conditioner, which helps to soften the coat and make it easier to brush. Pay special attention to areas that tend to mat, like the armpits and behind the ears. For more details on this, check out our guide on How Often to Bathe a Yorkshire Terrier and Best Shampoo for Yorkshire Terriers.
After rinsing, gently squeeze out excess water and towel-dry your Yorkie as much as possible. Then, it's time for the hairdryer. Use a pet-specific dryer or a human hairdryer on a cool or low-heat setting. Keep the dryer moving constantly to avoid burning their delicate skin. As you dry, use your pin brush and slicker brush to systematically brush out every single tangle and knot. The goal is a coat that is absolutely dry, fluffy, and free of any snags. Run a metal comb through the entire coat – if the comb glides through effortlessly, you're ready to clip. Any remaining dampness or tangles will cause your clippers to snag and produce an uneven result.
Step-by-Step Guide to Giving a Yorkie a Kennel Cut
Alright, you've got your tools, your Yorkie is clean and fluff-dried, and you're ready to go! This is where the magic happens. Take your time, stay calm, and remember that practice makes perfect.
Setting Up Your Grooming Area
Before you even turn on those clippers, set up your space. Choose a quiet, well-lit area where you won't be interrupted. A sturdy grooming table with a non-slip surface is ideal, as it brings your Yorkie up to a comfortable working height and helps keep them still. If you don't have a grooming table, a kitchen counter with a non-slip mat or a sturdy, elevated surface can work, but always prioritize safety. Make sure all your tools are within easy reach but out of paw’s way. Have plenty of treats ready, maybe a chew toy, and some calming music if your Yorkie responds well to it.
The goal is to create a positive, stress-free environment. Your Yorkie will pick up on your energy, so a calm and confident demeanor from you will help them relax. If you're stressed, they will be too. Have a towel or absorbent mat underneath your working area to catch the clipped hair, making cleanup a breeze. Consider securing your Yorkie with a grooming loop if you have a table; this helps keep them from jumping off and hurting themselves. This preparation is key to a smooth grooming session.
Clipping the Body
Now for the main event! Choose your clipper blade – a #7F is a great starting point for a moderate kennel cut, while a #10 will be shorter. Attach it securely to your clippers. Always make sure your blade is cool; if it starts to get warm, switch to another blade or use a clipper coolant spray to prevent skin irritation.
Start clipping from the back of the neck and move down the back, working with the natural direction of the hair growth. This typically gives a smoother, more natural finish. Hold the clippers flat against the skin, using gentle, even strokes. Don't press too hard. Work systematically: do one side of the back, then the other, then move to the sides of the body, and finally the belly. When clipping the belly, be extra cautious around nipples and sensitive areas. Stretch the skin taut with your free hand to prevent nicks, especially in loose skin folds. Many owners find it easiest to have their Yorkie lay down for belly clipping.
The key is to maintain consistent pressure and direction to ensure an even cut. Overlap your strokes slightly to avoid "track marks" or uneven patches. Remember, you can always go shorter, but you can’t add hair back! If you’re unsure about the length, start with a longer blade and go shorter if desired. Take breaks if your Yorkie gets antsy, offer praise and treats, and let them stretch. This process can be made easier with a comprehensive Yorkshire Terrier Grooming Guide.
Trimming the Head and Face
This is arguably the trickiest part, as it's where your Yorkie's personality truly shines, and it requires precision and extreme caution. You'll primarily be using your blunt-nosed grooming scissors here, though some might use a very short blade (like a #10) on a quiet clipper for the cheeks, if your dog is extremely still and cooperative, and you are very experienced. For beginners, scissors are safer.
Start by carefully trimming the hair around the eyes. Gently hold the muzzle with one hand and use your blunt-nosed scissors to trim the hair that could fall into their eyes or obstruct their vision. Point the tips of the scissors away from the eye, always. For those pesky tear stains, a slight trim in this area can also help. For more tips on keeping their face clean, check out How to Keep a Yorkie's Face Clean.
Next, move to the ears. Most owners opt for a clean, short ear to showcase the Yorkie's erect ears. Carefully trim the hair on the outside of the ear flap, again, pointing the scissors away from the ear canal. You can also trim any long wisps inside the ear if they're visible and not growing deep within the canal – but be very careful not to go too deep. For the muzzle, you can either trim it neatly short for a more uniform "puppy face" look or leave it a little longer to maintain a more traditional Yorkie beard. Use your comb to brush the hair forward and then trim the ends. Always keep your fingers between the scissors and your dog's skin whenever possible, and always aim the scissor tips away from their body.
Finishing Touches: Paws, Tail, and Hygiene
Once the main body and face are done, it's time for the detailing. These small touches make a big difference in a neat, well-groomed kennel cut.
Start with the paws. Using your blunt-nosed scissors, carefully trim the hair between the paw pads. This helps prevent slipping, reduces tracking dirt into the house, and prevents mats from forming there. You can also trim the hair around the outside of the paw to create a neat, round "cat foot" appearance. Always lift the paw and trim away from the pads. While you're at it, take the opportunity to trim their nails. If you're unsure how, there are great resources like How to Trim a Yorkie's Nails that can guide you.
For the tail, if you've done a full body clip, you'll want to trim the tail to match the body length. Use your clippers with the same blade, moving from the base to the tip. You can leave a little plume at the end for flair if you like, or keep it uniformly short. Just be careful around the sensitive tail base.
Lastly, the sanitary area. This is crucial for hygiene. Using a #10 blade (or even a #15 for a very close trim) on your clippers, carefully shave the hair around the anus and genitals. Again, stretch the skin taut and work slowly and gently to avoid nicks. This helps keep these areas clean and free from waste. While you're finishing up, do a final check for any uneven spots or stray hairs on the body, and give them a quick brush. Don't forget their ears; a quick swab with a pet-safe ear cleaner will help keep them healthy. Our article on How to Clean a Yorkie's Ears has more detailed instructions.
Post-Grooming Care and Maintenance
You’ve done it! Your Yorkie is looking fresh and tidy in their new kennel cut. But the grooming isn't over yet – how you finish up and maintain the style in the coming weeks is just as important as the clipping itself.
After the Cut: Soothing and Rewarding
As soon as the clippers are off and the final snips are made, give your Yorkie a thorough inspection. Run your hands over their entire body, checking for any nicks, scrapes, or areas of clipper irritation, especially in sensitive spots. If you find a tiny nick, apply styptic powder to stop any bleeding. Clipper burn can sometimes occur if the blade gets too hot or if you press too hard, so keep an eye out for redness or irritation in the following hours. A soothing, pet-safe balm or a cool compress can help if you notice any tenderness.
Most importantly, heap on the praise and rewards! Your Yorkie just endured a potentially lengthy and sometimes stressful process, and they deserve to know they did a great job. Offer their favorite high-value treats, engage in some gentle playtime, or give them a long, comforting cuddle. You want them to associate grooming with positive experiences, making the next session much easier. Building a positive association ensures they won't dread future grooming sessions.
Maintaining the Kennel Cut
One of the biggest perks of the kennel cut is its low maintenance, but "low" doesn't mean "no" maintenance. To keep your Yorkie looking their best and prevent issues, you'll typically need to refresh the kennel cut every 4 to 8 weeks, depending on how fast their hair grows and how short you prefer it. Regular upkeep prevents the coat from growing too long and starting to mat again, defeating the purpose of the initial cut.
Even with a short coat, daily or every-other-day brushing is still highly recommended. This might sound counter-intuitive, but it helps distribute natural oils, removes loose hair, stimulates the skin, and keeps the coat healthy and shiny. It also allows you to bond with your dog and quickly spot any new lumps, bumps, or skin issues. A quick brush takes minutes but makes a huge difference in overall coat health and cleanliness. Additionally, make sure you're feeding them a high-quality diet. Brands like Ollie, known for their fresh dog food, can contribute significantly to a healthy coat from the inside out, making it softer and shinier. You can also explore options like Best Food for a Yorkie with a Sensitive Stomach if your pup has specific dietary needs that impact their skin and coat.
Troubleshooting Common Grooming Challenges
Even with the best intentions and tools, you might encounter some bumps in the road. It's totally normal, especially when you're new to home grooming.
- Matted Spots: If you discover a small mat you missed during pre-grooming, do not try to cut through it with clippers. It will pull painfully. Instead, use a mat splitter or carefully work through it with a metal comb, starting from the outside edges and working your way in. If it’s too tight, use blunt-nosed scissors to snip under the mat, parallel to the skin, very carefully. If it’s large, it’s safer to visit a professional groomer.
- Clipper Irritation or Burn: This typically manifests as redness, bumps, or even small scabs. It’s often caused by a dull or hot blade, pressing too hard, or going over the same spot repeatedly. To prevent this, always ensure your blades are sharp and cool, and use a clipper lubricant. If irritation occurs, apply a soothing, pet-safe aloe vera gel or a gentle antiseptic spray. For more serious cases, consult your vet.
- Fearful or Anxious Dogs: Some Yorkies are simply not fans of grooming. If your dog is excessively squirming, biting, or showing signs of extreme stress, pushing through might make them dread future sessions. For these pups, breaking grooming into very short, positive sessions might help. For example, just do their back one day, then their sides another. Always use positive reinforcement. If your Yorkie's anxiety is severe, especially around the sounds of clippers, consider consulting a professional groomer or a dog behaviorist. Sometimes, a gentle prescription sedative from your vet for grooming days can make a world of difference for highly anxious pups, but that’s a conversation for you and your vet. Remember, a professional groomer is always an option if you find home grooming too challenging, especially for aspects like Yorkshire Terrier Dental Care Guide which often happens at the vet or groomers.
Disclaimer
The information provided in this guide is for general informational purposes only and does not constitute professional veterinary advice. Always consult with a qualified veterinarian or professional groomer for any specific health concerns, treatment options, or grooming recommendations for your Yorkshire Terrier. Home grooming carries inherent risks, and caution should always be exercised.