How to Give a Yorkie a Westie Cut
Giving your adorable Yorkshire Terrier a Westie cut can be a fantastic way to manage their long, flowing coat, especially if you're tired of constant matting or if your furry friend gets overheated easily. It’s a popular style that offers a fresh, sporty look, but tackling it at home can feel daunting without clear guidance. This comprehensive guide will walk you through every step, from understanding what a Westie cut entails to the tools you’ll need and the precise techniques for achieving this charming style on your Yorkie.
Understanding the Westie Cut for a Yorkshire Terrier
The Westie cut, traditionally seen on the West Highland White Terrier, has become a beloved style for many terrier breeds, including our beloved Yorkies. It's renowned for its neat, practical, and undeniably cute appearance, offering a welcome change from the typical long, silky Yorkie coat.
What Exactly Is a Westie Cut?
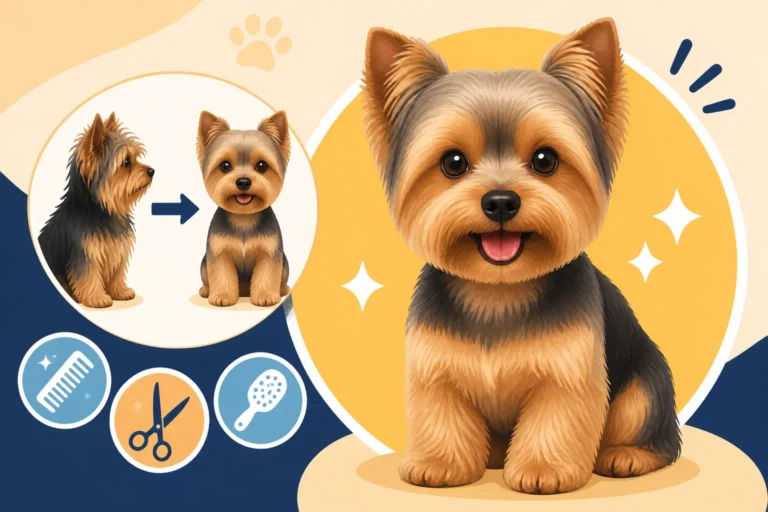
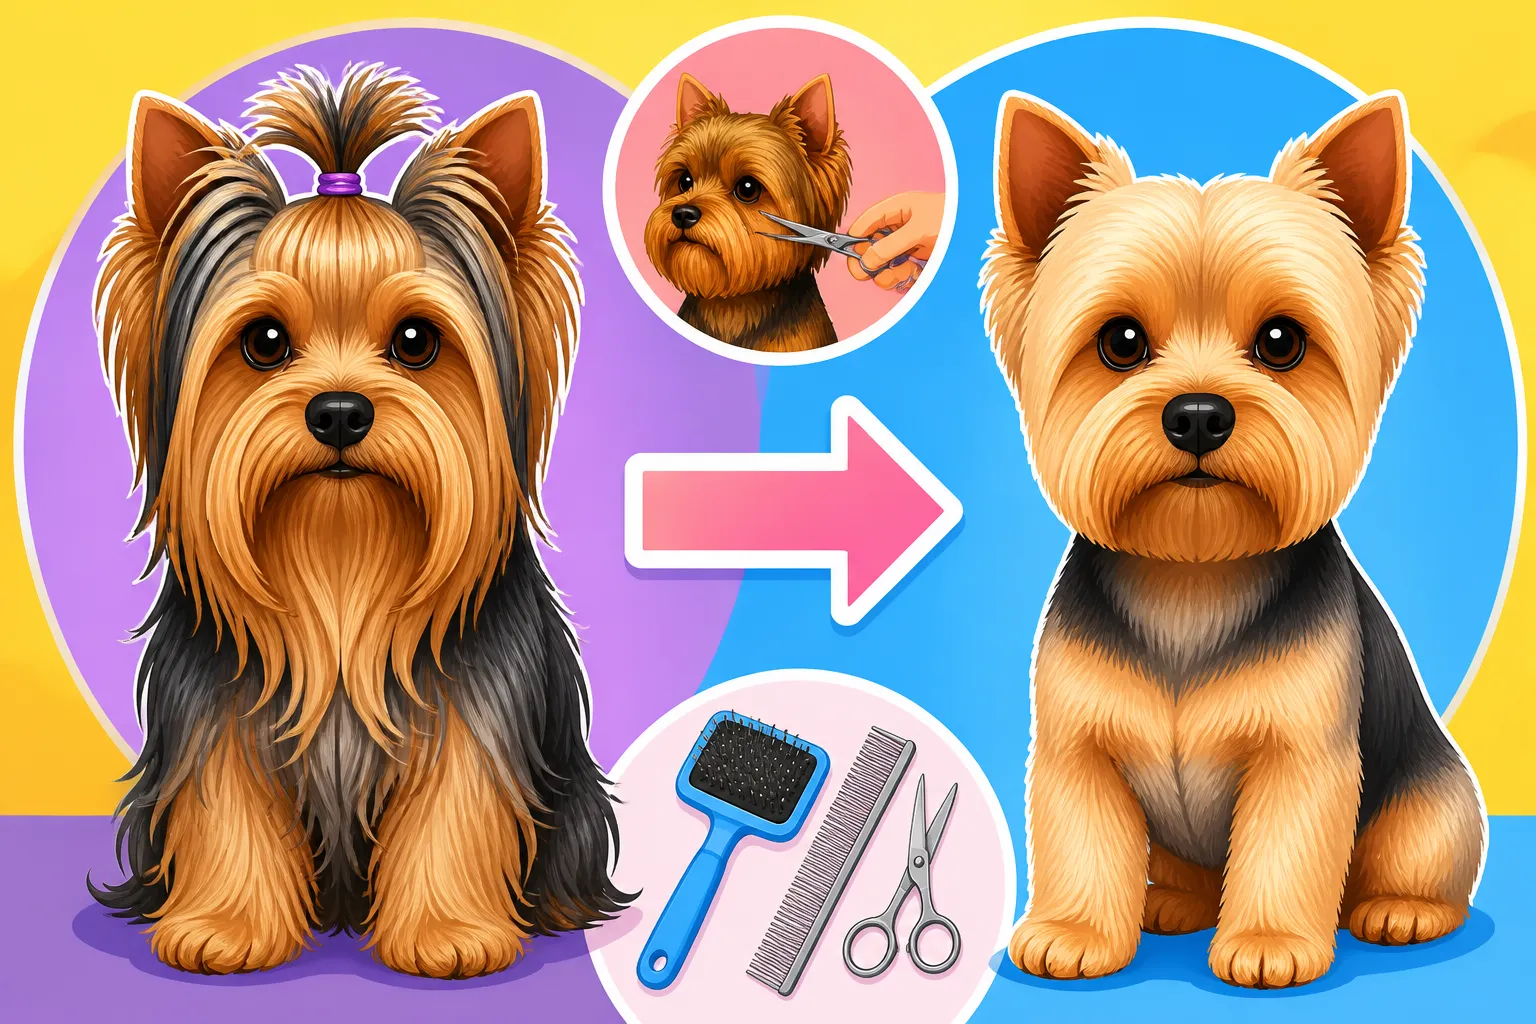
At its core, a Westie cut involves a closely clipped body, typically uniform in length, combined with slightly longer hair on the legs and a distinctive rounded head. Think of it as a low-maintenance, sporty look that highlights your Yorkie's adorable facial features while keeping their body cool and clean. The body hair is usually trimmed to a uniform length, often between 1/2 to 1 inch, creating a tidy silhouette. The legs are generally left a bit longer, giving them a more substantial, almost "stocky" appearance, which beautifully contrasts with the shorter body hair.
The signature of this cut, however, is often the head. Unlike the traditional Yorkie top knot, the Westie cut usually features a rounded head shape, where the hair on the top and sides of the head is trimmed and blended to create a soft, circular outline. The beard and eyebrows might be left slightly longer to enhance this roundness, but everything is kept neat and clean, especially around the eyes to ensure clear vision. This style provides a lovely, playful look that many Yorkie owners adore.
Why Choose a Westie Cut for Your Yorkie?
There are several compelling reasons why you might consider giving your Yorkie a Westie cut. Primarily, it’s a game-changer for maintenance. Yorkies are famous for their long, fine, human-like hair that can easily tangle and mat, especially behind the ears, under the legs, and in their "armpits." A shorter Westie cut significantly reduces the time and effort spent on daily brushing and detangling, making grooming a much less frequent chore. This can be a huge relief for both you and your dog.
Beyond the practical aspects, the Westie cut is incredibly comfortable for your Yorkie, particularly in warmer climates or during summer months. Shorter hair helps regulate body temperature, preventing overheating during playtime or walks. If your Yorkie is an active dog who loves to explore the outdoors, this cut will keep them cleaner, reduce the amount of debris they pick up in their coat, and prevent burrs or stickers from becoming deeply embedded. Plus, let's be honest, it's an incredibly charming look that can make your Yorkie stand out with a fresh, spirited vibe. It’s a wonderful alternative if you’re looking for a low-maintenance style that still accentuates your Yorkie's cuteness. Many owners find it an ideal compromise between a full shave and a demanding long coat.
Is a Westie Cut Suitable for Every Yorkie?
While the Westie cut is generally versatile and suits most Yorkshire Terriers, there are a few considerations. The primary factor is your Yorkie's coat type. Yorkies typically have long, silky, single coats that respond well to clipping. However, some Yorkies might have a slightly coarser or wavier coat, which can still be styled this way, but the texture might give a slightly different finish than the classic smooth Westie look. It's always a good idea to consider your dog's individual hair texture and how it might fall once cut short.
Another point to consider is your Yorkie's temperament. Grooming, especially with clippers, can be a stressful experience for some dogs. If your Yorkie is particularly anxious or has had negative grooming experiences, you might need to introduce the process gradually, perhaps over several sessions, or seek professional help. Starting with shorter sessions and lots of positive reinforcement can make a big difference. This style is also great for active dogs who get into mischief, as it minimizes the chances of tangles and keeps them clean. For tips on a broader grooming approach, you might find our main article on the Yorkshire Terrier Grooming Guide helpful, or if you're looking for more general maintenance, check out the Yorkshire Terrier Daily Care Routine.
Essential Tools and Preparation for the Westie Cut
Before you even think about turning on those clippers, a successful Westie cut begins with having the right tools and preparing your Yorkie properly. Trust me, trying to wing it with dull scissors and a tangled dog is a recipe for disaster (and a very stressed out pup!).
Gathering Your Grooming Arsenal
Having the correct grooming tools is non-negotiable for a safe and effective Westie cut. You don’t need to break the bank, but investing in quality items will make the process smoother and yield better results.
- Electric Clippers with Multiple Blades: This is your primary tool. Look for a quiet, reliable set designed for pet grooming. Brands like Wahl, Andis, or Oster are popular among professionals and home groomers alike. You'll need various blade sizes, such as a #7F or #5F for the body (which leaves about 1/8 to 1/4 inch of hair), and possibly a #10 for sanitary areas and paw pads. You can find excellent options on Amazon or Chewy.
- Grooming Shears/Scissors: A good pair of straight shears (7-8 inches), curved shears (for shaping the head and legs), and thinning shears (for blending and softening lines) will be essential. Make sure they are sharp and comfortable to hold.
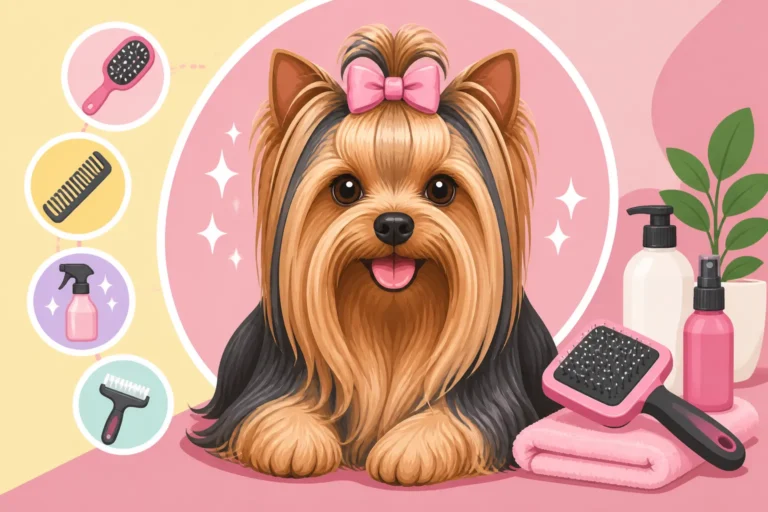
- Steel Comb and Slicker Brush: These are crucial for detangling and ensuring the coat is smooth before clipping. A fine-toothed steel comb is great for the face and checking for knots, while a slicker brush works wonders on the body. You can often find a good selection of these on Chewy.
- Grooming Table with a Noose/Arm: While not strictly necessary for every home groomer, a grooming table provides a stable, elevated surface that makes the job much easier and safer. The noose helps keep your Yorkie securely in place, preventing them from jumping off and injuring themselves.
- Quality Dog Shampoo and Conditioner: Choose products specifically formulated for dogs, ideally for sensitive skin or fine coats. A good bath is the first step to a great cut. Consider checking out "Best Shampoo for Yorkshire Terriers" for specific recommendations.
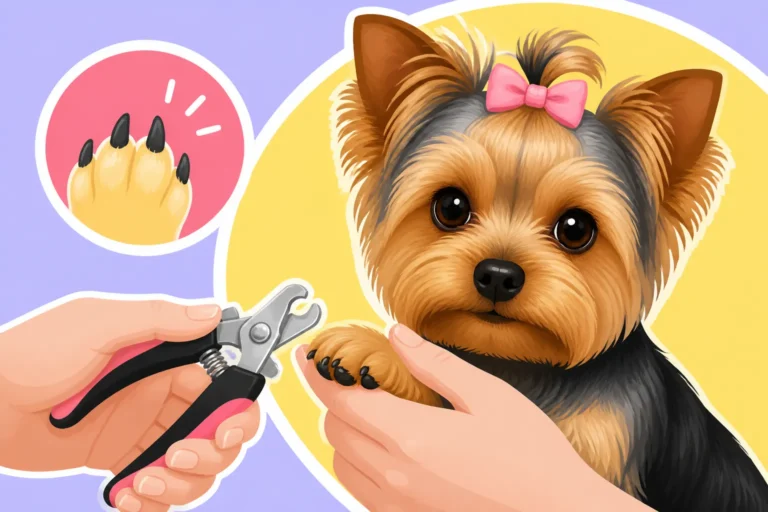
- Nail Clippers or Grinder: You’ll want to trim your Yorkie's nails before or after the cut. Sharp clippers or a dremel-style grinder work well. If you're unsure how to approach this, refer to "How to Trim a Yorkie's Nails" for detailed instructions.
- Ear Cleaner and Cotton Balls: Essential for cleaning ears before or after the grooming session.
- Styptic Powder: Always keep this on hand in case of a nail quicking accident.
Pre-Grooming Steps for a Smooth Experience
Preparation is key to a stress-free and successful grooming session. Don't skip these steps!
- Bathe Your Yorkie Thoroughly: This is probably the most critical pre-grooming step. Dirt, oils, and dead hair can clog clipper blades and lead to an uneven cut. Use a high-quality dog shampoo and conditioner. Lather up well, making sure to rinse all the shampoo out. Residual shampoo can irritate the skin and make the coat feel sticky. For detailed bathing tips, consult "How to Bathe a Yorkie."
- Dry Completely: After bathing, towel-dry your Yorkie as much as possible, then use a low-heat setting on a pet dryer (or even a human hairdryer, held at a safe distance) to ensure they are 100% dry. Drying against the grain of the hair can help fluff it up, making it easier to clip evenly. Never clip a wet or damp coat; it can snag, pull, and damage the hair.
- Brush and Comb Out All Knots: This is where your slicker brush and steel comb come in. Work through your Yorkie's entire coat, section by section, ensuring there are absolutely no tangles or mats. Mats can pull on the skin when clipped, causing pain or even injury. If you encounter stubborn mats, you might need a detangling spray or a mat splitter. Remember, a completely mat-free coat is essential for an even clipper cut. For more in-depth advice, read "How to Brush a Yorkie's Coat."
By following these preparatory steps, you're setting yourself and your Yorkie up for a much more pleasant and successful grooming experience, transforming what could be a chore into a manageable task.
Step-by-Step Guide to Giving Your Yorkie a Westie Cut
Alright, it’s time to roll up your sleeves and get to the actual cutting! Remember to work slowly, take breaks, and prioritize your Yorkie's comfort and safety throughout the entire process. Positive reinforcement with treats and praise can work wonders.
Clipping the Body
This is where you'll establish the overall short length of the Westie cut. Choose your blade length wisely based on how short you want the body hair to be. A #7F blade leaves about 1/8 inch, while a #5F leaves about 1/4 inch, both are popular choices for a Westie body.
- Start from the Neck and Work Backwards: Begin clipping at the back of your Yorkie’s neck, working your way down their back towards the tail. Always clip with the grain of the hair for a smoother finish. If you clip against the grain, the cut will be significantly shorter and may result in clipper irritation. Hold the clipper flat against the body, applying gentle, even pressure. Use long, smooth strokes.
- Sides and Chest: Once you've done the top line, move to the sides of the body. Continue clipping downwards, following the natural curves of their ribcage. For the chest, carefully clip down the front, being extra cautious around the throat area. Pull the skin taut with your free hand to ensure a flat surface for the clippers and to avoid catching loose skin.
- Belly Area: For the belly, gently lift your Yorkie's front legs to access the chest and underbelly. Continue clipping, being very careful around sensitive areas like nipples and groin. Many groomers opt for a slightly shorter blade, like a #10, in the immediate sanitary area for better hygiene, but keep the main body length consistent. Remember to be mindful of skin folds.
- Repeat and Blend: Go over each section a second time to ensure an even cut and catch any missed hairs. Look at your Yorkie from different angles to check for consistency. The goal is a uniform, short length across the torso.
Shaping the Legs and Skirt
The legs are a key feature of the Westie cut, creating a lovely contrast with the short body. You want to leave the hair longer than the body, typically aiming for 1/2 to 1 inch, to give them a "column-like" appearance.
- Define the Leg Line: After clipping the body, you'll have a clear line where the short body hair meets the longer leg hair. Use your straight shears to create a clean, crisp line around the top of each leg, blending it seamlessly into the body. This is a subtle but important step.
- Trim Leg Length: Using your straight shears, carefully trim the leg hair to your desired length. Many choose to leave the leg hair long enough to slightly feather, giving a soft, full look. Use a comb to pull the hair out straight from the leg, then snip horizontally. Work your way around each leg, ensuring evenness. Remember to stand your Yorkie up frequently to see how the hair falls naturally.
- Shaping for Fullness: For a truly Westie-like appearance, you want the legs to look a bit cylindrical. Use your curved shears or thinning shears to gently shape the leg hair, removing bulk without making it too short. The idea is to create a slightly wider, fuller look compared to the clipped body. Blend, blend, blend! There should be no harsh lines between the body and leg hair. For more on overall coat care, see Yorkshire Terrier Coat Care and Haircuts.
Mastering the Head and Face
The rounded head is the hallmark of the Westie cut and requires a gentle touch and precision.
- Clean Around the Eyes: This is paramount for your Yorkie's health and comfort. Use small, blunt-nosed scissors to carefully trim any hair that could fall into their eyes or obstruct their vision. Be extremely cautious here! You want a clean, open area. For specific issues like tear stains, refer to "Yorkie Eye Problems Explained."
- Shape the Top of the Head: Comb the hair on top of your Yorkie's head upwards. Using your curved shears, begin to trim this hair to create a rounded, dome-like shape. Start longer and gradually trim shorter, constantly checking your progress. The goal is a soft, circular silhouette. Think of a perfectly round little puffball.
- Blend the Sides and Cheeks: Comb the hair on the sides of the head and cheeks downwards. Use your thinning shears or curved shears to blend this hair into the rounded top. The objective is to eliminate any harsh lines and create a continuous, soft curve from the top of the head down to the jawline. You can leave the whiskers and eyebrows slightly longer for a more expressive face if you prefer.
- Trim the Ears: Carefully trim any excess hair from the edges and inside of the ears. For Yorkies, traditionally the ear tips are kept clean and bare, either by plucking or careful clipping with a #10 blade to accentuate their perky, V-shaped ears. If you prefer a slightly softer look, you can leave a small amount of trimmed hair on the ear leather, but avoid heavy fur that weighs them down.
Finishing Touches: Paws, Tail, and Hygiene Areas
These final details will bring the whole Westie cut together and ensure your Yorkie is comfortable and clean.
- Paws: Use your clippers with a #10 blade (or small scissors) to carefully trim the hair from the pads of their feet. This prevents slipping and collects less dirt. Then, use your straight shears to trim the hair around the paw circumference, making the paws look neat and round, like little compact circles. Be careful not to cut too deep between the toes.
- Tail: Most Westie cuts on Yorkies involve a shorter, tidier tail. You can use your straight shears to trim the tail hair to a length that's proportionate to the body, often an inch or two long, giving it a neat, natural flag shape or a clean, short look.
- Sanitary Area: Using a #10 clipper blade, very carefully trim the hair around the anus and genitals. This is crucial for hygiene, preventing feces or urine from clinging to the fur. Always pull the skin taut and work with extreme caution in these delicate areas.
- Final Brush and Inspection: Give your Yorkie one last thorough brush to remove any loose hairs. Step back and examine your work from all angles. Look for any uneven spots, missed patches, or stray hairs that need a quick snip. Reward your Yorkie generously for their patience!
Here’s a quick reference table for blade lengths often used for a Yorkie Westie Cut:
| Body Area | Recommended Blade Length | Purpose |
|---|---|---|
| Body | #7F (1/8") or #5F (1/4") | Main body length, short and uniform |
| Sanitary Area | #10 (1/16") | For hygiene around anus and genitals |
| Paw Pads | #10 (1/16") | Prevents slipping and keeps paws clean |
| Ears (edges) | #10 (1/16") or scissors | Clean, sharp ear outline |
| Legs | Shears, longer (1/2"-1") | Left longer than body, shaped with scissors |
| Head/Face | Shears, thinning shears | Rounded, soft appearance |
Post-Grooming Care and Maintenance
You’ve done it! Your Yorkie is sporting a fabulous new Westie cut. But the grooming journey doesn't end when the clippers are turned off. Regular maintenance will keep the cut looking sharp and your Yorkie feeling great.
Keeping the Westie Cut Looking Fresh
Even with a shorter style, consistent care is key to preventing problems and ensuring your Yorkie stays comfortable and healthy.
- Regular Brushing: While less prone to matting than a long coat, a Westie cut still benefits from regular brushing, ideally every few days. This helps to remove loose hair, distribute natural oils, and stimulate the skin. A slicker brush followed by a steel comb through the longer leg and head hair will keep it smooth and tangle-free. This is also a good opportunity to bond with your dog and check for any skin issues. Consistent brushing can prevent matting that might lead to uncomfortable skin irritations or even infections, something you definitely want to avoid as part of good Yorkie Skin Problems and Solutions.
- Scheduled Touch-Ups: Depending on how fast your Yorkie’s hair grows, you'll likely need a touch-up every 4-6 weeks to maintain the crispness of the Westie cut. This might involve re-clipping the body, tidying up the legs and head with scissors, and re-trimming the sanitary areas and paw pads. Getting into a routine means your Yorkie will be more accustomed to the process, making it less stressful for everyone. For general guidance on frequency, consider "How Often Yorkies Need Grooming."
- Bathing as Needed: With a shorter coat, your Yorkie may stay cleaner longer. Bathe them when they start to look or smell dirty, using a gentle dog shampoo. Always follow up with a good conditioner to keep the hair soft. Remember to dry thoroughly and brush out any potential tangles after each bath. You can find excellent shampoos and conditioners at pet stores like Chewy.
Common Challenges and Troubleshooting
Even experienced groomers encounter hiccups. Don't get discouraged if your first attempt isn't perfect. It's a learning process!
- Uneven Cut: It happens to the best of us! If you notice uneven spots after clipping, go back with your clippers (using the same blade length) and gently blend them out. Use your comb to lift the hair and then run the clippers over it again. For the head and legs, use thinning shears to soften any harsh lines or visible "steps" in the hair, which helps create a more natural, blended look. Patience is your best friend here.
- Clipper Irritation or Burn: Sometimes, especially if blades are dull or if you apply too much pressure, clippers can cause skin irritation or "clipper burn," which appears as red, inflamed patches. If this happens, apply a soothing, pet-safe balm (like aloe vera gel or a specialized skin soother from a brand like Earthbath). Ensure your blades are always sharp and cool; use a clipper coolant spray if they get hot during grooming. Always double-check blade sharpness before you begin; dull blades can pull hair, which is painful for your Yorkie.
- Anxious or Fidgety Yorkie: Some Yorkies just don't love grooming. If your dog is struggling, take frequent breaks. Keep grooming sessions short and positive, ending before your Yorkie becomes too stressed. Offer high-value treats and plenty of praise. Sometimes, breaking the groom into multiple sessions (e.g., bath one day, body clip another, head the next) can make it more manageable. A safe and secure grooming table with a noose from Amazon or a pet specialty store can help immensely in keeping a wiggly pup still. For more on behavioral aspects, you might want to look into articles about Yorkshire Terrier Separation Anxiety Solutions or general training guides.
- Matting in Longer Areas: Even with a Westie cut, areas like the longer leg hair, under the armpits, and behind the ears can still develop mats if not brushed regularly. If you find a mat, try to work it out gently with your fingers and a detangling spray before resorting to cutting it out. If a mat is too tight or close to the skin, it's safer to carefully cut it out with blunt-nosed scissors, always sliding the comb between the mat and the skin first to protect your Yorkie.
Remember, practice makes perfect. The more you groom your Yorkie, the more comfortable and skilled you'll become, and the more accustomed your Yorkie will be to the process. With the right tools and a bit of patience, you can confidently give your Yorkshire Terrier a stylish and practical Westie cut right in your own home. And for a holistic approach to their wellbeing, consider researching topics like How to Keep a Yorkshire Terrier Healthy and Yorkshire Terrier Vet Costs and Health Budget to ensure all aspects of their care are covered.
Disclaimer
The information provided in this article is for general informational purposes only and is not a substitute for professional veterinary advice. Always consult with a qualified veterinarian or professional groomer for any health concerns or before attempting any grooming procedures you are unsure about. Grooming tools can be sharp, and improper use can cause injury. Proceed with caution and prioritize your pet's safety and well-being.