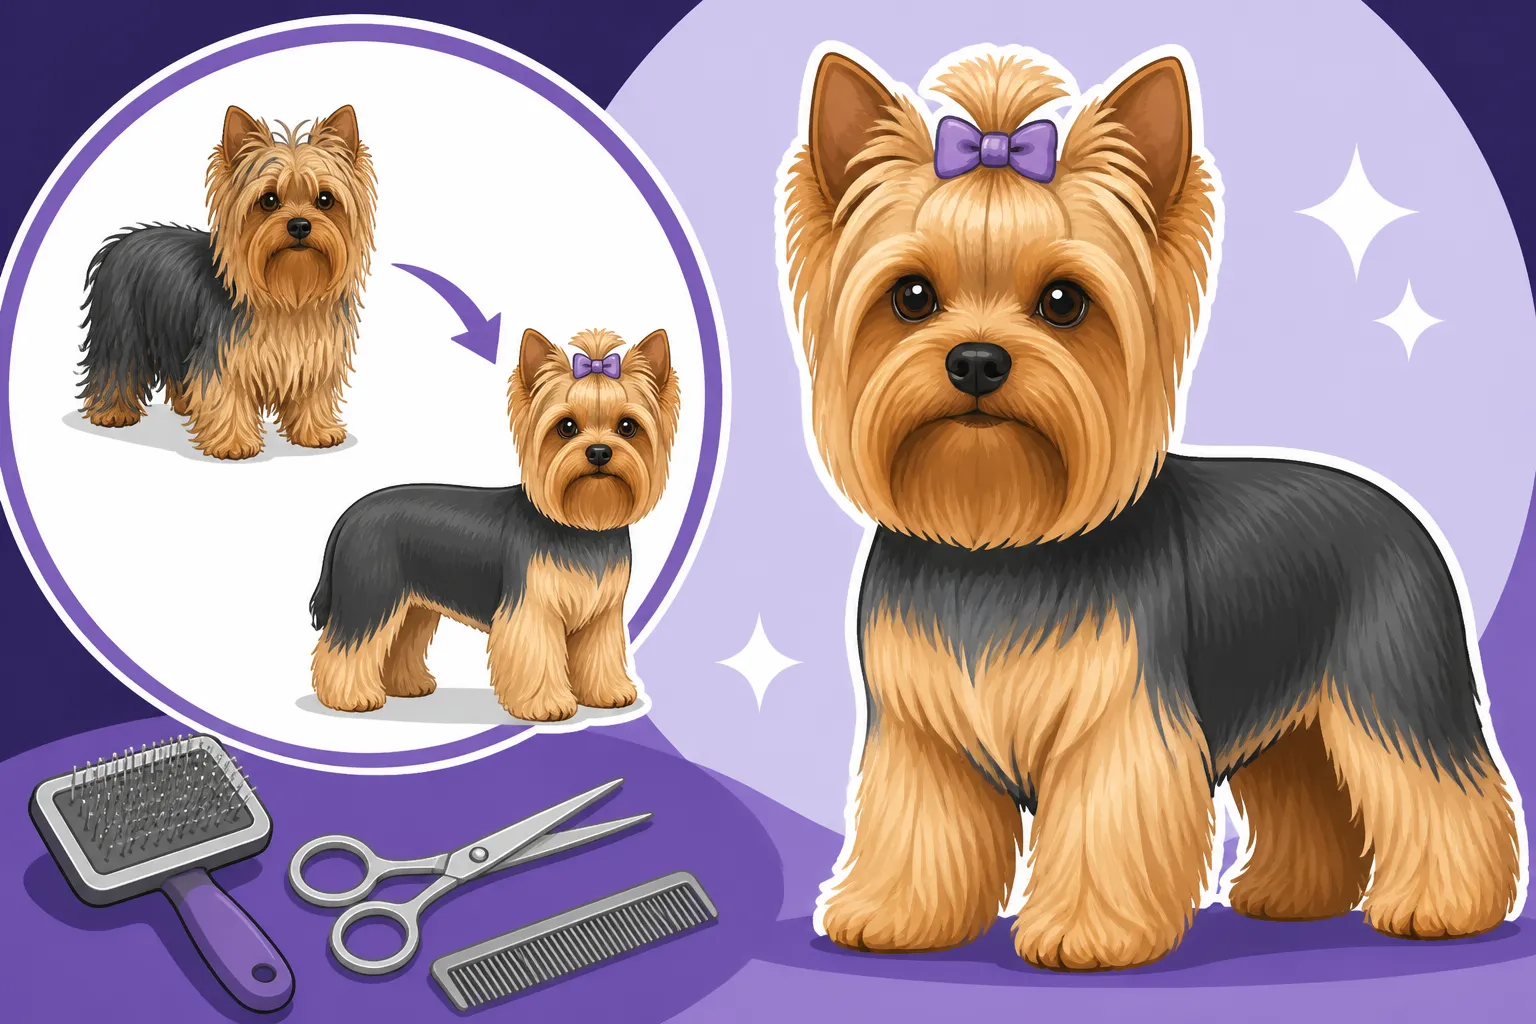
How to Give a Yorkie a Lamb Cut
If you've ever admired those adorable Yorkies strutting around with perfectly sculpted, fluffy legs and a neat, compact body, you've likely seen the charming "Lamb Cut." It's a hugely popular style that offers both practicality and undeniable cuteness, especially for active little dogs who still want to look chic. This guide will walk you through everything you need to know to achieve this popular look for your own Yorkshire Terrier at home, helping you confidently pick up those clippers and scissors.
Understanding the Yorkie Lamb Cut Style
The Lamb Cut, also affectionately known as the "Teddy Bear with longer legs" or even a variation of the "Kennel Cut," is a beloved grooming style for Yorkshire Terriers for good reason. It’s designed to keep the body fur relatively short and manageable, while leaving the hair on the legs noticeably longer, giving them that distinct, fluffy, almost sculpted "lamb" appearance. The head is typically rounded to complement the overall soft, youthful look.
What Defines a Lamb Cut
Think of a freshly shorn lamb: a short, even coat on the main body, but with thicker, longer wool around the legs. That's precisely the inspiration for this cut on your Yorkie. The body hair is usually clipped quite short, often with a #5F or #7F blade, which leaves about 1/4 to 1/8 inch of hair, respectively. This shorter length dramatically reduces matting and makes daily care a breeze. In contrast, the leg hair is left longer, typically scissored to a length that provides a cylindrical or slightly flared look, often 1 to 2 inches long. The chest and skirt area are then blended seamlessly to connect the short body hair to the longer leg hair. The face and head are usually trimmed into a soft, rounded shape, often leaving the ears lightly feathered or neatly trimmed for a clean silhouette. The tail might be fluffed or kept natural, depending on your preference.
Why Choose a Lamb Cut for Your Yorkie
Choosing a Lamb Cut isn't just about aesthetics; it comes with a host of practical benefits that many Yorkie parents deeply appreciate. For starters, it's incredibly low maintenance compared to a full, floor-length show coat. The shorter body hair means less brushing to prevent tangles and mats, which can be a real struggle, especially if your Yorkie loves to play outdoors. Imagine trying to untangle burrs from a long coat versus easily brushing them off a shorter one – it’s a game-changer!
Another significant advantage is comfort, particularly during warmer months. That shorter body coat allows for better airflow and helps prevent your little furball from overheating. Yorkies, despite their hardy terrier roots, can be quite susceptible to heatstroke due to their small size and dense coats. The longer leg hair still offers some protection from elements and retains that adorable fluffy look without the full burden of a lengthy coat everywhere. From a health perspective, a shorter body makes it easier to spot skin issues, fleas, or ticks early on. Plus, for those of us who dread bath time, a shorter coat dries much faster, making the entire process less stressful for both you and your pup. You can learn more about managing their beautiful coats in our comprehensive guide on Yorkshire Terrier Coat Care and Haircuts.
Essential Tools and Supplies for the Lamb Cut
Before you embark on your grooming adventure, gathering all the necessary tools is paramount. Having the right equipment makes the process smoother, safer, and ultimately leads to a much better result. Skimping on quality here can lead to frustrating snags, uneven cuts, and a less-than-pleasant experience for your Yorkie.
Grooming Clippers and Blades
Your clippers are the workhorse of this operation. For Yorkies, you'll want quiet, powerful clippers that don't vibrate excessively, as these little dogs can be quite sensitive to noise and sensation. Many professional groomers and experienced home groomers swear by brands like Wahl or Andis. For the body of the Lamb Cut, a #5F or #7F blade is commonly used. The "F" stands for "finish blade," meaning it leaves a smooth, even cut. A #5F blade will leave the hair about 1/4 inch long, while a #7F will leave it around 1/8 inch. Having both allows you to choose the exact length for the body that you prefer.
You might also consider a #10 blade for delicate areas like the sanitary region or paw pads, as it cuts very close, ensuring hygiene. Remember to keep a cooling spray handy for your blades, as they can heat up quickly, which can be uncomfortable or even burn your Yorkie's skin. You can find a fantastic array of reliable dog grooming clippers and replacement blades on Amazon or specialized pet supply retailers like Chewy.
Scissors and Combs
While clippers handle the bulk of the body, scissors are your precision instruments, especially for the legs, head, and blending. You'll need a few types:
- Straight Shears: These are versatile for general trimming and tidying, particularly for evening out the leg length.
- Curved Shears: Excellent for creating those beautiful rounded shapes on the top of the head and feet, giving that soft, lamb-like finish.
- Thinning Shears: Crucial for blending different lengths of hair seamlessly (e.g., where the short body hair meets the longer leg hair) and softening harsh lines. They also help reduce bulk without making the coat too short.
- Blunt-Nosed Scissors: Absolutely essential for trimming around the delicate eye area and ears for safety.
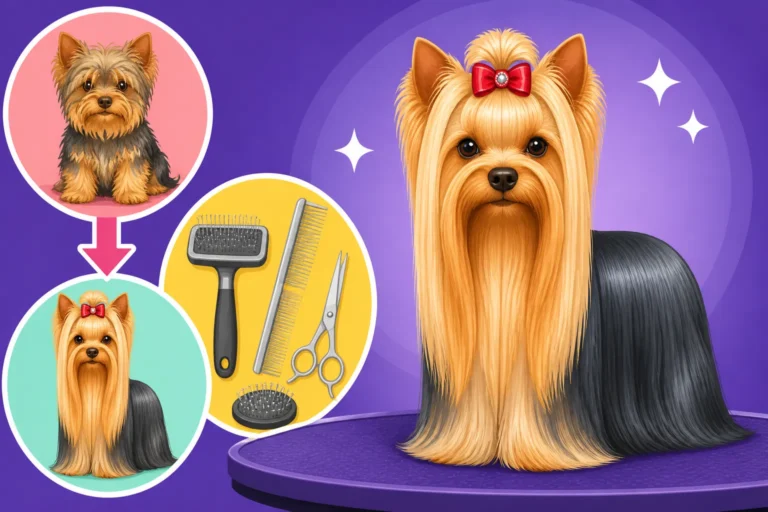
Alongside your scissors, a good quality stainless steel comb with both wide and fine teeth is indispensable. It helps you lift the hair to get an even cut and to check for tangles before and during grooming. A slicker brush will also be needed for thorough detangling and fluffing, especially before starting your clip. Proper brushing is a fundamental part of Yorkshire Terrier Grooming Guide.
Other Grooming Essentials
Beyond the main cutting tools, you'll need several other items to ensure a successful and comfortable grooming session:
- Dog-Specific Shampoo and Conditioner: Choose formulas designed for dogs to protect their skin and coat. Look for moisturizing options to keep their fine hair from becoming brittle.
- High-Velocity Dryer: While not strictly essential for every home groomer, a good dog dryer significantly speeds up drying time and helps straighten the coat for a more even cut. Human hairdryers can be too hot and noisy.
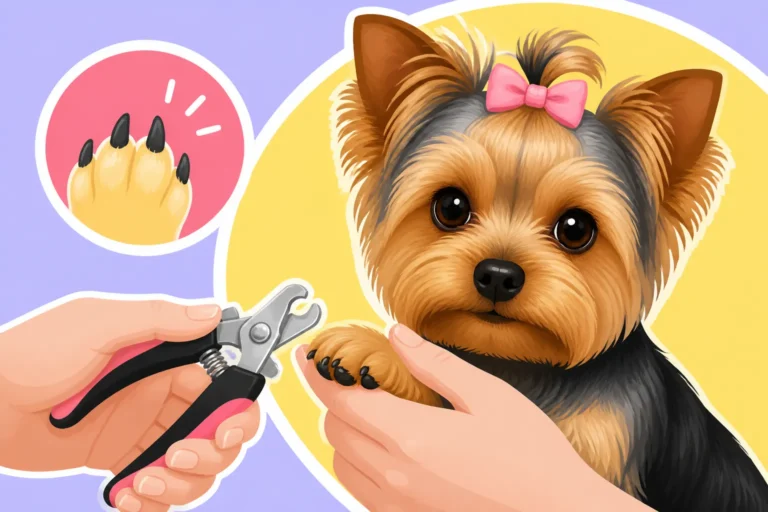
- Nail Clippers or Grinder: You'll want to take care of those nails before or after the cut. Overgrown nails can cause discomfort and even health issues. Check out our guide on How to Trim a Yorkie's Nails for detailed instructions.
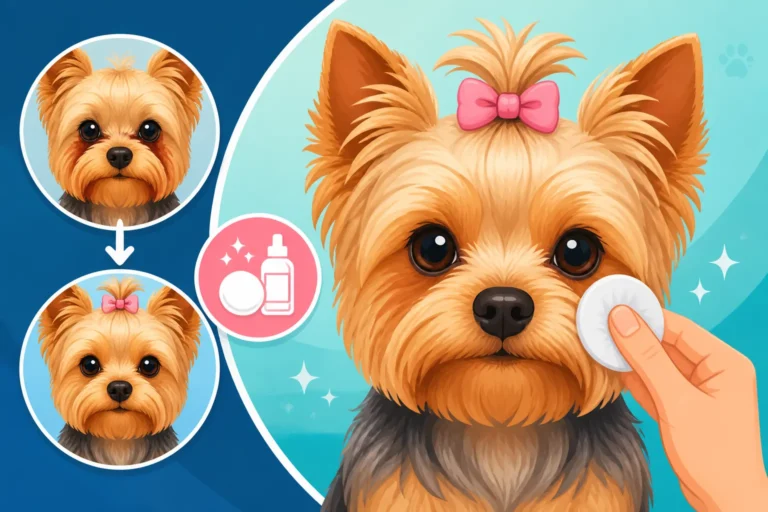
- Ear Cleaner and Cotton Balls: To clean their ears and prevent infections. This is an important step in their overall hygiene, which you can learn more about in How to Clean a Yorkie's Ears.
- Styptic Powder: An absolute must-have in case you accidentally nick a nail too short, causing it to bleed.
- Grooming Table with Arm and Loop: While you can certainly groom on a sturdy tabletop, a dedicated grooming table with a no-sit haunch holder helps keep your Yorkie still and at a comfortable height, making the process much safer and easier for both of you.
| Tool Type | Recommended Use | Key Features for Yorkies |
|---|---|---|
| Clippers | Body, sanitary area, paw pads | Quiet motor, powerful, durable blades (ceramic/steel) |
| Blades | Body: #5F, #7F; Sanitary/Pads: #10 | Sharp, easily interchangeable, stay cool (or use coolant) |
| Straight Shears | Trimming leg length, general tidying | Sharp, comfortable grip, suitable length (6-7 inches) |
| Curved Shears | Head, feet, rounding | Ergonomic curve for shaping, sharp, smooth action |
| Thinning Shears | Blending, softening lines, reducing bulk | Fine teeth, good for blending short-to-long areas |
| Blunt-Nosed Scissors | Eyes, ears, delicate facial areas | Rounded tips for safety, sharp cutting edge |
| Steel Comb | Detangling, lifting hair, checking evenness | Combination of wide and fine teeth |
| Slicker Brush | Pre-grooming detangling, fluffing legs | Fine, bent wires, comfortable handle, gentle on skin |
| Nail Clippers | Trimming nails | Scissor-style for small dogs, sharp blades |
| Ear Cleaner | Ear hygiene | Dog-specific, gentle formula |
| Styptic Powder | Emergency nail bleed control | Essential safety item |
Step-by-Step Guide to Giving Your Yorkie a Lamb Cut
Alright, it's time to roll up your sleeves and get hands-on! Remember, patience is your best friend here. Don't rush, take breaks if your Yorkie gets fidgety, and always use positive reinforcement with treats and praise.
Preparing Your Yorkie for Grooming
A proper start makes all the difference. Never try to clip a dirty or matted coat.
- Thorough Bathing: Give your Yorkie a good bath using a high-quality dog shampoo and conditioner. Pay special attention to cleaning their face, paws, and undercarriage. Rinse thoroughly to ensure no residue is left behind, as this can irritate their skin and make the coat sticky for clipping. Our article on How to Bathe a Yorkie provides detailed steps.
- Drying and Brushing: This step is crucial. Completely dry your Yorkie's coat. If you have a high-velocity dryer, use it to blast the water out and straighten the hair as you brush. This ensures an even cut. If air-drying or using a human hairdryer on a cool setting, brush constantly to ensure the coat is free of any tangles and lays flat. A good slicker brush will help here. After drying, use your steel comb to check for any hidden mats or tangles, especially behind the ears, in the armpits, and on the legs. All mats must be brushed out before clipping; otherwise, the clippers will snag and pull, causing pain. Need more tips? Check out How to Brush a Yorkie's Coat.
- Nail Trim and Ear Cleaning: Before any clipping, take care of their nails and clean their ears. It’s easier to do this when they're fresh out of the bath and before they get anxious about the clippers. This helps create a comfortable and hygienic base for the main grooming.
Clipping the Body and Blending
Now for the main event – shaping that lamb-like body!
- Choose Your Blade: Attach your chosen blade, typically a #5F or #7F, to your clippers. Start with the longer #5F if you're unsure or prefer a slightly longer body coat, then you can always go shorter if desired.
- Clipping Direction: Always clip with the direction of hair growth for a smoother, more natural finish. Go against the grain if you want a slightly shorter, coarser texture, but for a Lamb Cut, with the grain is usually preferred.
- Start at the Neck: Begin clipping at the base of the neck, moving down the back towards the tail. Use long, even strokes, overlapping each pass slightly to avoid lines. Hold your Yorkie's skin taut with your free hand to ensure a smooth surface and prevent accidental nicks, especially around joints and loose skin.
- Sides and Chest: Move to the sides, clipping down from the topline towards the belly. Be very careful around the armpits and elbows, where skin is thin and loose. Clip the chest area, again moving with the hair growth.
- Belly and Sanitary Area: Carefully clip the belly, being mindful of nipples and genitals. For the sanitary area (around the anus and genitals), switch to a #10 blade for a very close, hygienic trim. This area should always be kept short to prevent messes and maintain cleanliness.
- Blending: This is where the artistry comes in. You need to blend the short body hair into the longer leg hair. Use your thinning shears to soften the line where the body ends and the legs begin. Hold the thinning shears parallel to the body and snip gently, moving them slightly to create a graduated look. This creates a seamless transition that is key to the Lamb Cut’s appeal.
Scissoring the Legs and Feet
The legs are what truly define the "lamb" in this cut.
- Establish Length: Use your comb to lift the hair on the legs straight out from the body. Decide on your desired leg length (typically 1-2 inches). Using straight shears, carefully trim around the circumference of each leg, aiming for a cylindrical or slightly tapered shape. You want them to look fluffy, but not shaggy.
- Front Legs: Lift the front leg and comb the hair down. Using your straight shears, trim the hair to an even length around the leg, from the elbow down to the paw.
- Rear Legs: For the back legs, comb the hair down. You'll want to create a similar cylindrical shape, ensuring the hocks (the joint above the paw on the back leg) are well-defined but still covered with hair.
- Paws: Comb the hair on the top of the paw forward and trim around the paw in a neat, rounded fashion using your curved shears. Gently push the paw pads up to expose any hair growing between them and carefully trim it flush with a #10 blade or small blunt-nosed scissors. This prevents slipping and collects less debris.
Shaping the Head and Face
The head and face give your Yorkie its unique expression. This requires a steady hand and attention to detail.
- Round the Topknot: Comb the hair on top of the head upwards. Using your curved shears, carefully round off the top of the head, creating a soft, appealing shape that frames their face. You want to avoid any harsh lines or flat tops. The goal is a cute, fluffy, rounded appearance, much like a teddy bear.
- Trim Around Eyes: This is a delicate area. Use your blunt-nosed scissors to carefully trim any hair that could fall into your Yorkie's eyes. Hold the hair up and snip only the very tips. Be extremely cautious here.
- Muzzle and Chin: Comb the hair on the muzzle forward and trim it to your desired length, creating a neat, rounded look. You can use thinning shears to soften the edges. For the chin, comb the hair downwards and trim it to match the overall rounded facial shape.
- Ears: If you want a very clean look, you can trim the hair on the outer edges of the ears using a #10 blade or blunt-nosed scissors. Alternatively, you can leave them lightly feathered if that's your preference. Ensure symmetry.
Finishing Touches and Inspection
You're almost there! A final inspection ensures a polished look.
- Check for Evenness: Stand back and look at your Yorkie from all angles. Run your hands over their body and legs, feeling for any uneven patches or lines. Use your comb and thinning shears to smooth out any discrepancies.
- Tail: Comb out the tail and decide whether you want to fluff it, trim it short, or leave it natural to complement the Lamb Cut. Many owners opt for a fluffy, natural tail.
- Clean Up: Wipe any stray hairs off your Yorkie and their grooming area. Offer lots of praise and a well-deserved treat for being such a good sport!
Maintaining the Lamb Cut Between Grooms
The beauty of the Lamb Cut is its relatively low maintenance, but "low" doesn't mean "no." Regular upkeep will keep your Yorkie looking sharp and prevent issues between full grooming sessions.
Regular Brushing and Detangling
Even with a shorter body coat, the longer leg hair and the finer texture of Yorkie fur can still tangle. Aim for a quick brush every 2-3 days, focusing especially on the legs, armpits, and behind the ears. These are common spots for mats to form. A slicker brush followed by a metal comb will help remove loose hair and prevent knots. If you're using high-quality food from brands like Ollie, your Yorkie's coat will be healthier and potentially less prone to matting. Consistent brushing not only keeps their coat beautiful but also distributes natural oils, promoting skin health.
Face, Paws, and Sanitary Touch-Ups
The facial hair around the eyes and mouth can grow quickly and become stained or irritate their eyes. Plan for weekly or bi-weekly touch-ups in these areas using your blunt-nosed scissors. Similarly, the hair on the paw pads and around the sanitary area will grow out, potentially causing hygiene issues or making them slip on smooth floors. A quick trim with a #10 blade or small scissors every few weeks will keep these areas neat and clean. You'll find great tips for managing facial hygiene in How to Keep a Yorkie's Face Clean.
Bathing Schedule
With a Lamb Cut, you can typically stretch baths out to every 3-4 weeks, or as needed if your Yorkie gets particularly dirty. Over-bathing can strip natural oils from their skin and coat, leading to dryness and irritation. Always use a dog-specific shampoo and conditioner. If your Yorkie has sensitive skin or allergies, consult with your vet or groomer about appropriate bathing products.
When to Consider Professional Grooming
While home grooming is rewarding, there's no shame in calling in the pros. If you're new to grooming, feeling overwhelmed, or your Yorkie is particularly uncooperative, a professional groomer can be a lifesaver. They have specialized equipment, experience, and techniques to handle even the most challenging coats and temperaments. They can also provide tips and demonstrate proper techniques that you can then replicate at home. Even if you do most of the grooming yourself, a periodic professional groom every few months can help reset the cut and ensure everything is perfectly shaped and blended. For an overview of how often grooming is generally needed, check out How Often Yorkies Need Grooming.
Troubleshooting Common Lamb Cut Challenges
Grooming a Yorkie, especially with a specific style like the Lamb Cut, isn't always smooth sailing. You're bound to encounter a few bumps along the road, but most can be overcome with patience and the right approach.
Dealing with Matted Hair
Even with diligent brushing, mats can sneak up on you, especially if you have a Yorkie with a particularly fine or dense coat, or if they've had a romp in the park. If you encounter a mat, never try to clip through it with your clippers, as this can severely injure your dog. Instead, try to gently tease it apart with your fingers, starting from the outer edge. A detangling spray can also help. If the mat is too tight or close to the skin, you might need to use a mat splitter or carefully cut it out with blunt-nosed scissors, always sliding a comb between the mat and the skin as a guard. For severe matting, a professional groomer might be the safest option, as they can sometimes remove them without resorting to a full shave.
Managing a Nervous or Fidgety Yorkie
Yorkies are known for their feisty personalities, and some are less than thrilled about grooming time. If your Yorkie is nervous, introduce the tools slowly. Let them sniff the clippers (when off), turn them on nearby so they get used to the sound, and reward calm behavior with treats. Start with short grooming sessions and gradually increase the duration. A non-slip grooming mat or a professional grooming table with a restraint loop can make a huge difference in keeping them still and safe. Talk to them soothingly throughout the process, and remember to take frequent breaks. If all else fails, consider consulting with a professional groomer or a dog trainer specializing in cooperative care.
Achieving an Even Cut
It's common for home groomers to end up with an uneven cut, especially when starting out. Don't worry, practice makes perfect! The key to an even clip on the body is using consistent, overlapping strokes with your clippers. Always go in the same direction, and hold the skin taut. For the scissored legs, comb the hair out repeatedly and trim small amounts at a time. It’s always easier to take more off than to put it back on! Step back often to assess your work from different angles. Thinning shears are your secret weapon for blending any visible lines between different lengths of hair, giving that smooth, professional finish. If your Yorkie starts to get too stressed, don't hesitate to pause and resume later. It's better to have a slightly less perfect cut than a traumatized pup.
Preventing Skin Irritation or Nicks
Yorkie skin is delicate, and accidents can happen. Always ensure your clipper blades are clean, sharp, and cool. Dull blades pull hair, causing discomfort, and hot blades can burn the skin. Use cooling spray frequently. When clipping, hold the skin taut, especially around loose skin folds and joints, to create a flat surface for the blade. For scissoring around sensitive areas like eyes and ears, always use blunt-nosed safety scissors and maintain extreme caution. If you do nick your dog, apply styptic powder immediately to stop any bleeding. Minor skin irritation or clipper burn can be soothed with a pet-safe topical ointment, but if you notice redness, swelling, or open sores, consult your veterinarian.
Disclaimer
The information provided in this article is for general educational purposes only and is not a substitute for professional veterinary advice. Always consult with a qualified veterinarian or professional groomer for any health concerns or before attempting complex grooming procedures, especially if your pet has pre-existing conditions or anxieties. While we strive to provide accurate and up-to-date information, individual results may vary, and proper technique is crucial to ensure the safety and well-being of your pet.